Sunday, May 15, 2016

Silkscreens, Mylar and More Get Together with Polymer Clay (warning....lots of pics)

The experimenting continues........

I really loved the mix of silkscreens and mylar together on polymer clay but decided to extend the idea a bit further and found a couple of other things to liven up the surface.  Any guesses as to what the addtional "bits" are?

These are what I ended up making today.


Saturday, May 14, 2016

Silkscreens and Mylar Get Together!!

My recent play with silkscreens from Ilysa and Kyra (Polymer Clay TV) has had me totally captivated the last couple of days - couldn't think about anything else in fact!!  I decided to add a little something into the mix today and incorporated some Mylar into the pieces as well.  I really love how they turned out and hope you do too.  Thank you again, Ilysa and Kyra for your beautiful gift to me.


Thursday, May 12, 2016

Draw, Print, Paint - Inspiration Overload


I've just started a short, 10 week intensive course at TAFE - Draw, Print, Paint with my beautiful friend, the amazing Lexie Lazenby.  I have to say I'm totally loving it.  The students in the class let me take pics of their work last night so I would love to share with you all.  

This is my beautiful friend Lexie and her deconstructed mark making pieces (3 pics below).


And these are pics of work from the students - some very talented people that's for sure.  Mark making techniques, polychromatic printing mono-prints.  I'm loving some of the work here.


Barbara O'Donovan

Kerrie Elliott

Ciara Cooney

Sharlene Williams

Monique Harre

Janeen Horne
 
Ruth McKim

Deborah Cain

Mine!!


Playing with Silkscreens Thanks to Ilysa and Kyra

Thanks to Ilysa and Kyra, I got to play with my new silkscreens yesterday.  I initially had alot of trouble getting a good coverage of paint onto the clay but I found I had much better coverage of paint if I stippled rather than dragged the paint.

I'm definately a bead kinda girl so wanted to create a range of beads and cabachons and it was very easy to manipulate the clay after the printing had been done.

Let me show you:


I tried a variety of paints, I even created my own metallic paint by adding plain sparkle mica to some plain blue paint.....yummy!!


I decided to create a range of "sheets" for bead and cabachon covering.  I haven't used these ones yet!


A bead and cabachon created using some other sheets.


A cabachon and bead using a simple black silkscreened piece.

The process was easy and very addictive.  Not sure how long the sheets will last but will keep some for a while so I know.  Hmmm think I'll be silkscreening again today!!! 


Wednesday, May 11, 2016

Huge Thanks Ilysa and Kyra

A very special package arrived in the mail a couple of days ago and I must say a huge shout out to Ilysa and Kyra from PolymerClayTV.  Ilysa and Kyra very kindly gifted me some of their silkscreens to have a play around with.  I must admit, I haven't done much as far as silkscreening on polymer clay before so I'm really excited to get stuck into them.  Some play days are definately in order......hmmmm now where is all that free time?? haha

Huge thank you Ilysa and Kyra - I am so very grateful. 

Saturday, May 7, 2016

Giving Thanks to Sharon Solly

Following up on my post from yesterday about using a heat gun to cure Kato Liquid Clay, I would like to give thanks to Sharon Solly.  Sharon created some amazing Faux Lampwork polymer clay beads and wrote a tutorial on them which was published in PolymerCafe magazine.  This was the very first PolymerCafe magazine I ever purchased.  I fell in love with those beads and knew I wanted to try and recreate them.  Of course the tutorial required Kato Liquid Clay and a heat gun.  I didn't have a heat gun so hubby bought me one and I was hooked.  So huge thanks to Sharon for explaining her process and for creating such amazing beads.
Those beautiful beads.


This is the magazine, back in October 2008.

and this was my little feeble attempt all those years ago!!

Heat Gun vs Embossing Gun To Cure Kato Liquid Clay


I'd like to answer a question I get asked quite a bit about how I get my beads so shiny and what sort of coating I use to put on them.  The answer is really quite simple...Kato Liquid Clay (KLC) and a heat gun...but I would like to answer in more detail for those who are interested.

I started coating beads with KLC a very long time ago.  It started off as an experiment to see how it would affect the look of metallic clay and I have to tell you...it worked beautifully.  It seemed to add an extra depth to the bead which was just what I was looking for.  I experimented lots, I burnt lots of beads and I also had lots of successes.  Over the years I think I've worked out the right way for ME to do it.  Everyone is different and everyone has a different way of doing things so these are MY thoughts only.

For me, an embossing gun is simply not hot enough to cure KLC to a high shine (which is what I love by the way).  It can be done, although I much prefer to use my industrial heat gun for the curing process.   It took me a little while to master but nowdays I almost never burn beads and I can coat one bead with multiple layers of liquid time in an incredibly short period of time.  I could never do this with an embossing gun. 

Simply coat your bead with a very thin layer of KLC.  I say thin because it's easier to control.  The liquid clay will turn quite runny after a bit of heating and if you've over-coated your bead then you run the risk of getting drips and runs everywhere that are impossible to control.   I would rather have 5 coats of perfectly smooth liquid clay than one lumpy, bumpy coating.  Hold your heat gun about 10cm away from your bead and heat while rotating.  When it turns milky, simply pop your heat gun onto a high setting and zap over quickly to turn that liquid clay to a high shine. 

I've read quite a few articles, blog posts and comments about how you should never use an industrial heat gun to cure liquid clay but I'm telling you now it's what I do and it works beautifully.

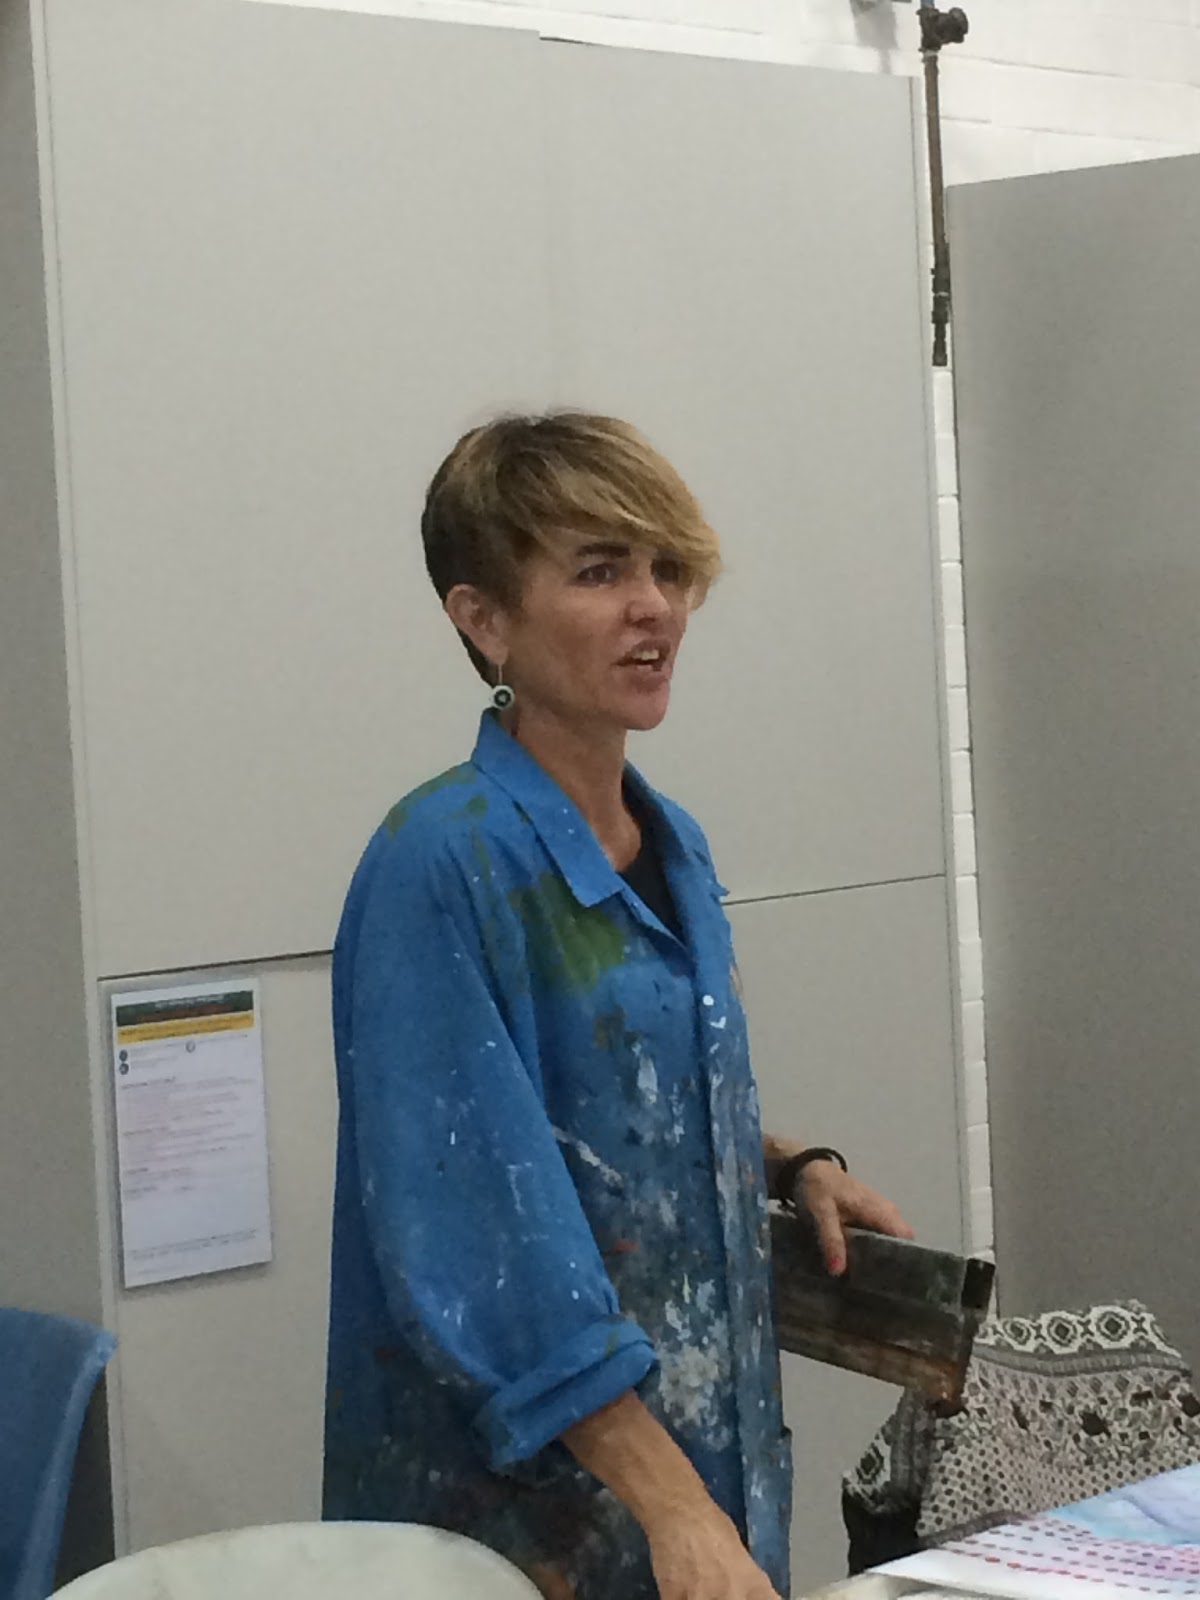
this is my trusty faithful heat gun that I've been using for 8 years.

this is my new heat gun that now has a temperature control...both are incredible to use and both have dual speed.


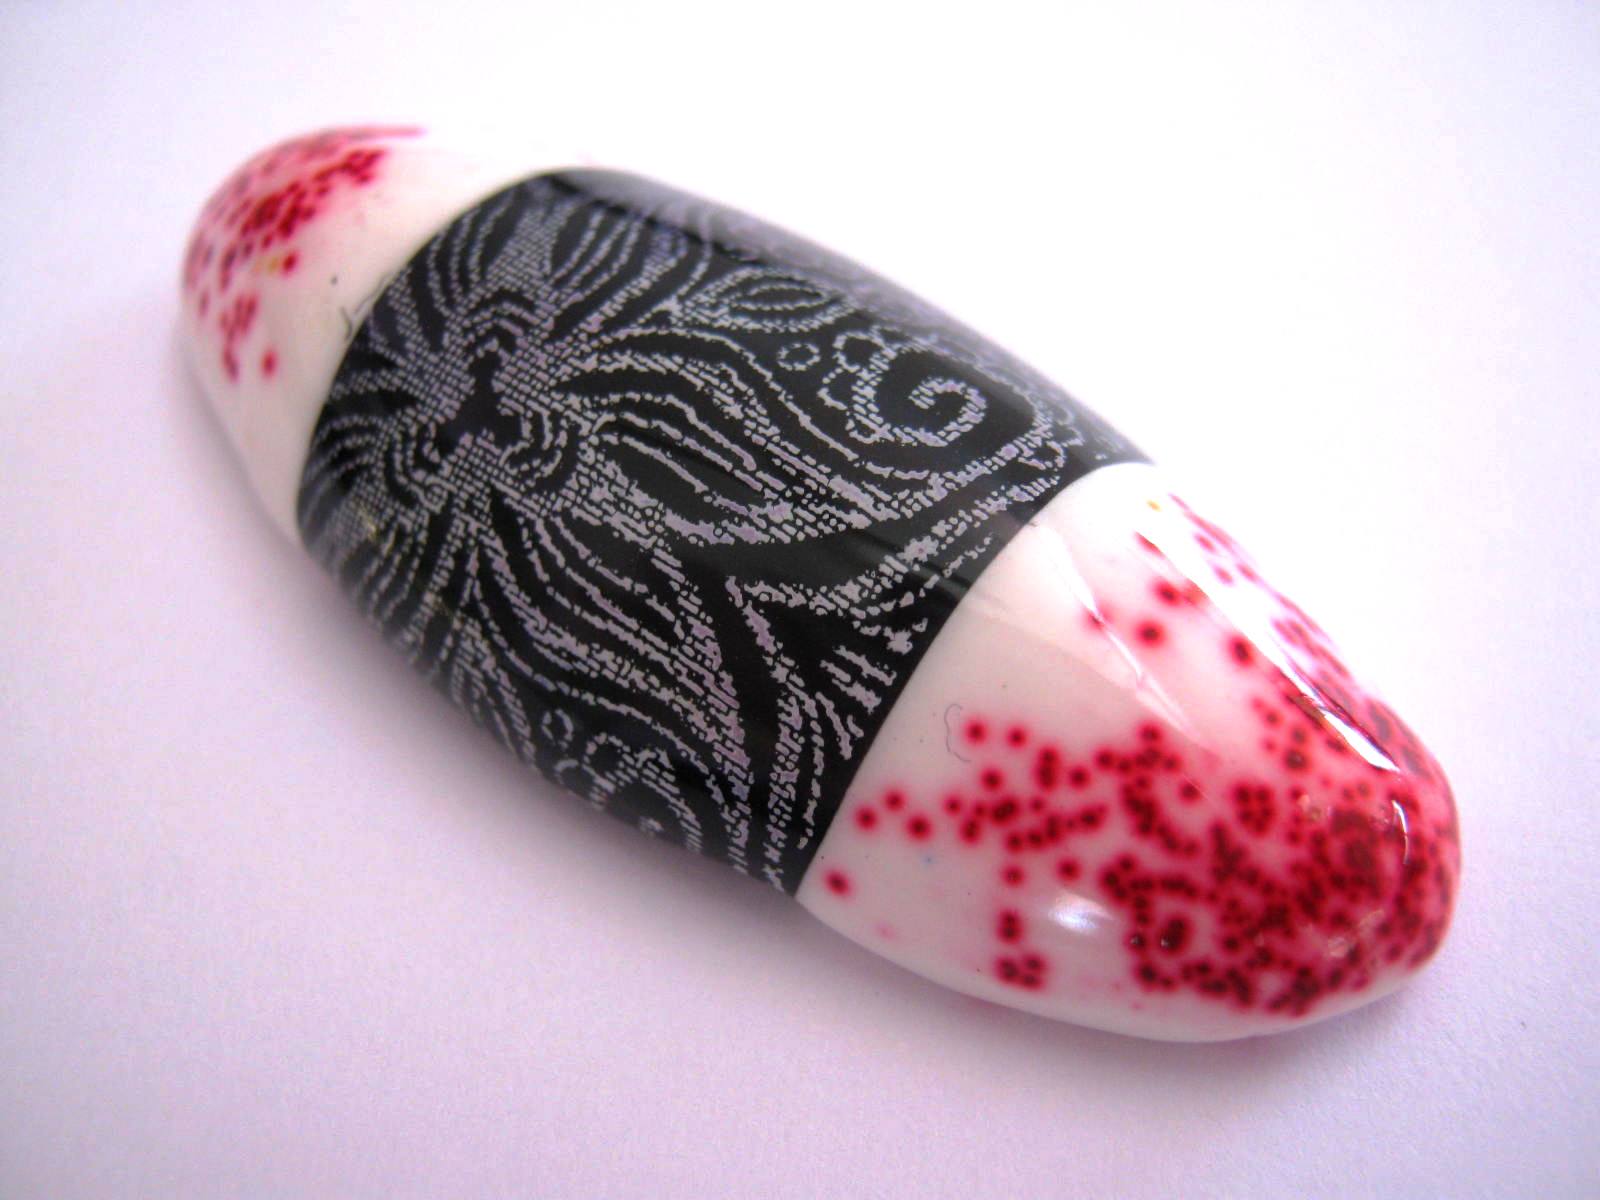
ultra shiny coatings of liquid clay that looks lumpy and bumpy but in fact in super smooth to touch.

another bead with an incredibly smooth surface although it doesn't look like it.

my favourites...Image Transfer Beads using Lisa Pavelka Images again with a high gloss coating of multiple layers of KLC.

multiple coats of KLC on black clay creates a glossy, glass like finish.

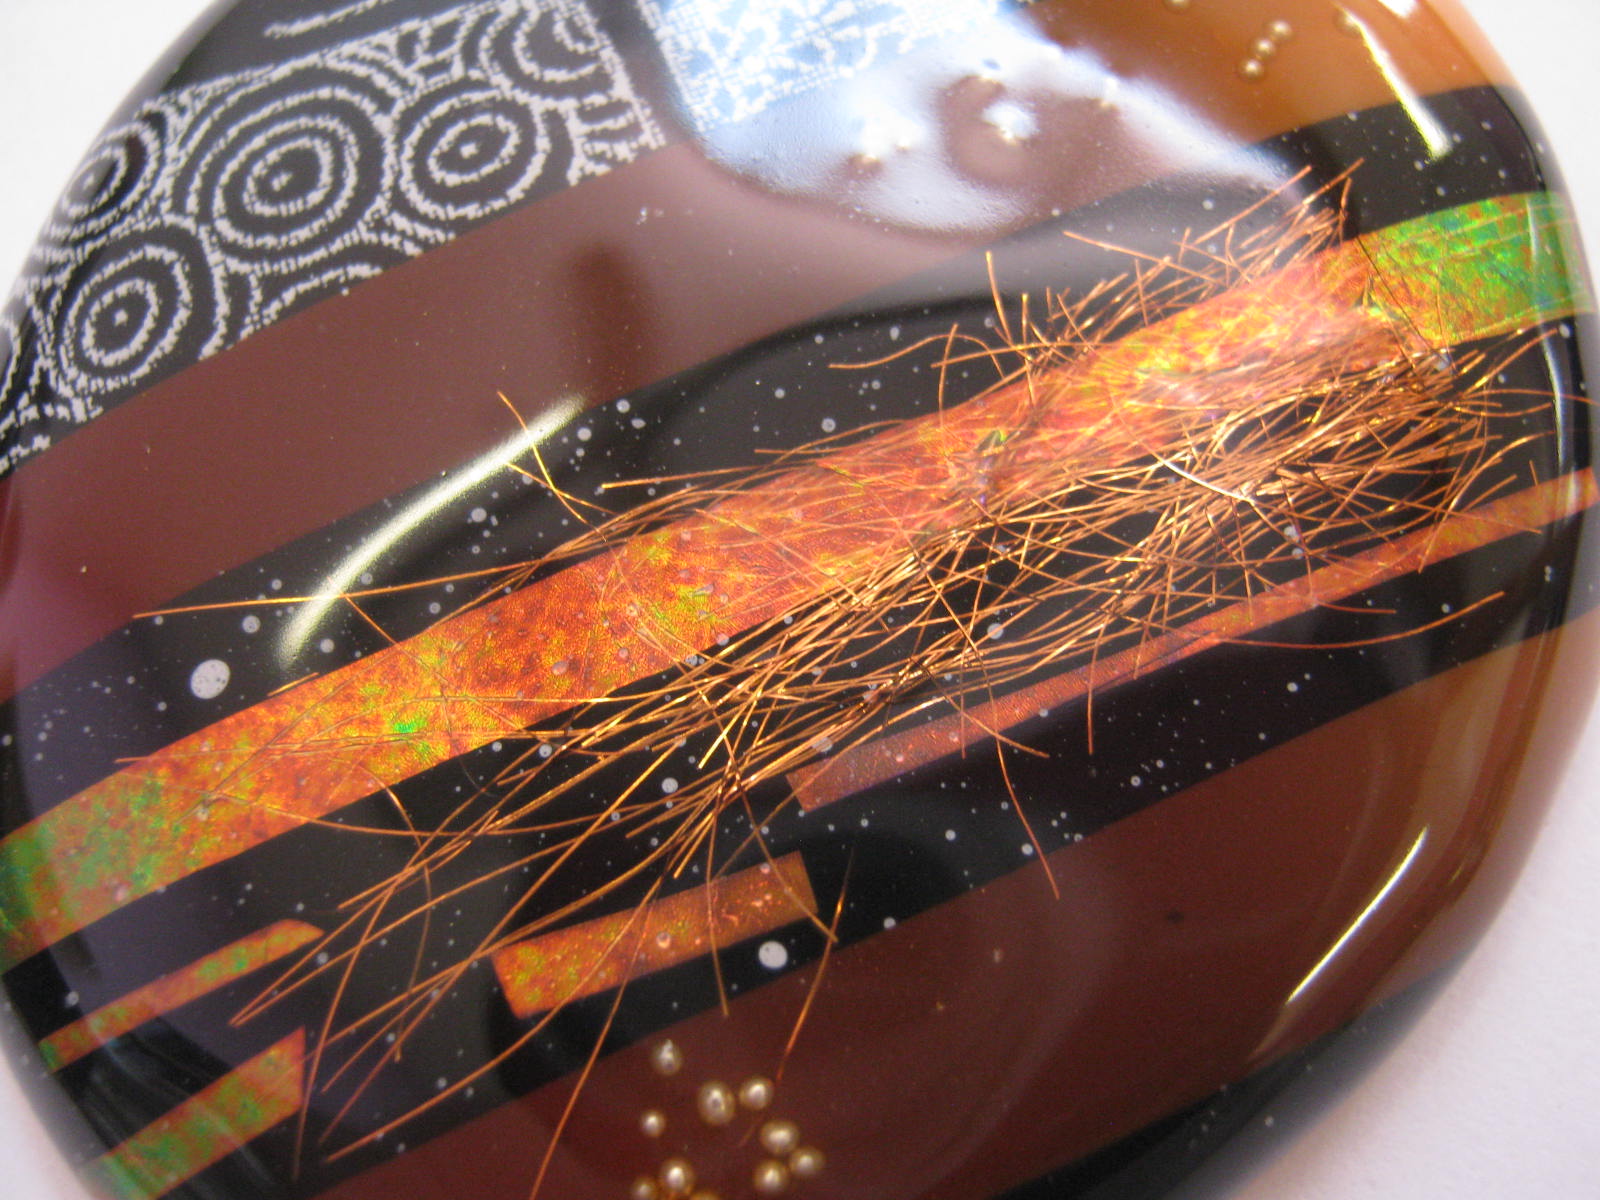
and one of my new favourites...Kato Liquid Clay coatings over copper mylar - yum! Again, this bead is super smooth on the surface.

Remember this is purely my preference for curing Kato Liquid Clay.  I'm not saying this is the right way but this is definately MY way.